

Media
Use the Media tab when you need an asset the model should not invent — a logo, a photo, a PDF, or a menu image you already shot.
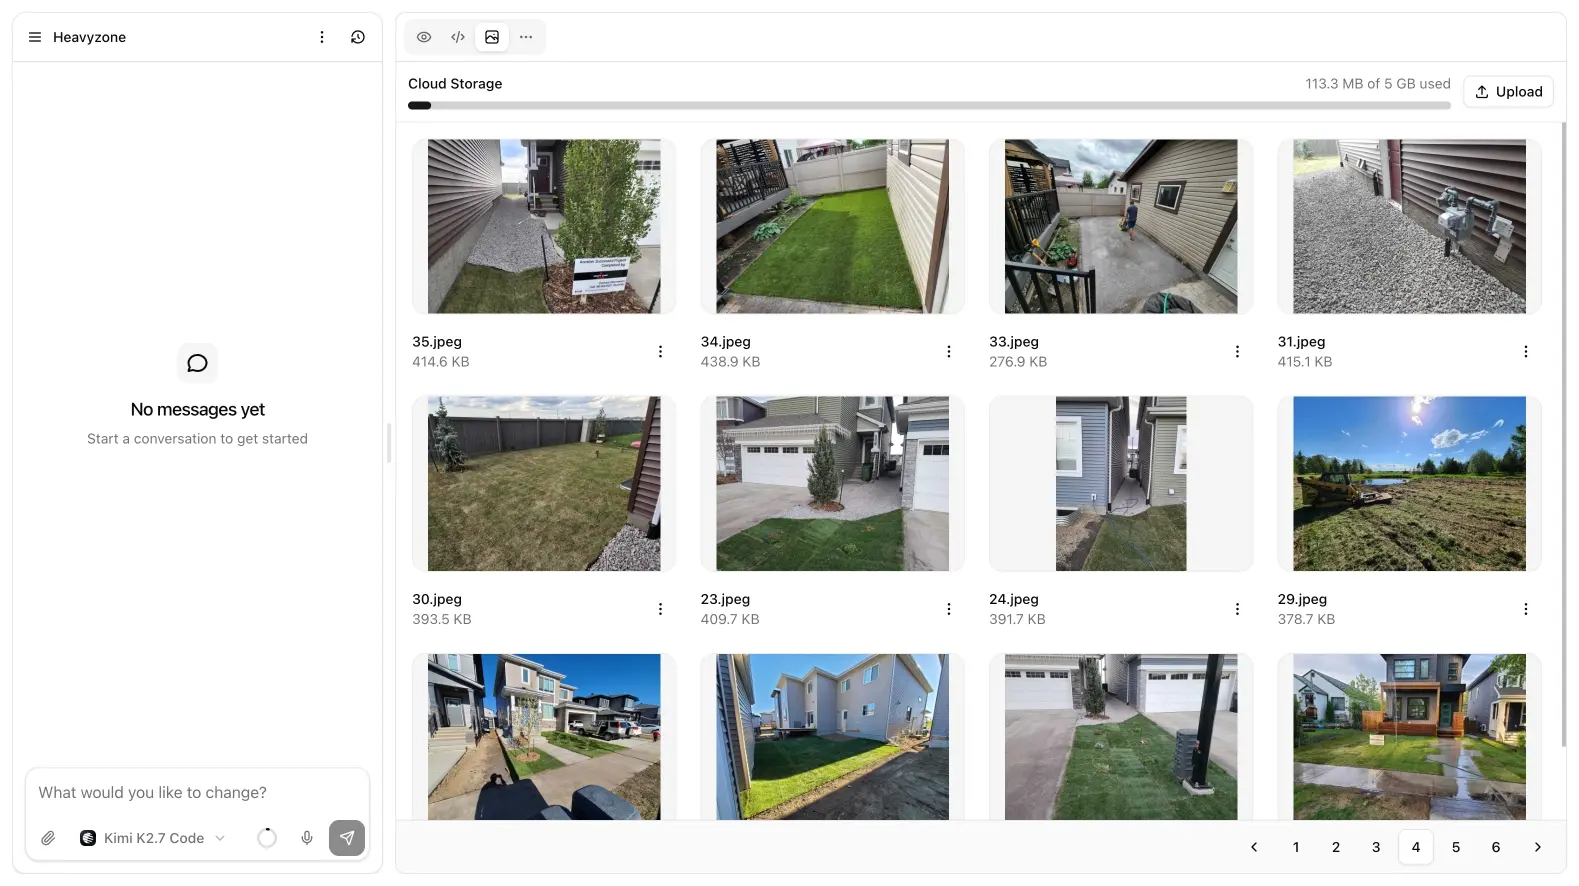
Asset library
The Media tab is the project’s asset library.
- Upload images and files
- Copy a public URL into the site or into a prompt
- Delete unused assets so they stop counting toward quota
Storage is metered. The quota bar shows how much cloud storage your plan includes (for example 3 GB on the smallest Pro package). Free accounts have a smaller limit. If upload fails, check the bar first, then file type and size.
Copied URLs are public. Do not upload contracts, customer lists, or anything that should stay private. For a hero or a logo, public is what you want: the generated site and chat can both reference the same file.
After you copy a URL, paste it in chat (“use this logo in the header”) or drop it into code as an img src. Chat can also attach files on the prompt itself; Media is better when you will reuse the same asset across pages.
When to use chat instead
Ask the model to replace a hero image if you do not care which file it touches. Upload here when you already have the exact asset. Generated stock-style images are fine for a first draft; swap them before you publish if the brand already has photography.
A practical workflow for a restaurant or local business:
- Upload the logo, a few dish or job-site photos, and any PDF you want linked
- Copy each URL once and keep the tab open
- In chat, name the file (“the logo in Media, not a new mark”)
- Delete unused uploads after the layout is stable
That keeps the library small and the prompts specific.
Next
- Code — files and Pro editing
- Plans and credits — storage quotas
- Publish — go live after the assets are in place